6. Customizing Document Set Welcome Page
Each document set has a welcome page that contains a list of the
documents within the set as well as information about the set itself.
The web part that we created earlier will be used to customize the
welcome page for our Sales Proposal document set so that whenever the
content type is used, our custom control will be displayed instead of
the built-in DocumentSetProperties control.
Navigate to the Chapter 10 site that we created earlier. Select Site Settings from the Site Actions menu.
Select Site Content Types from the Galleries section and then click the Sales Proposal content type.
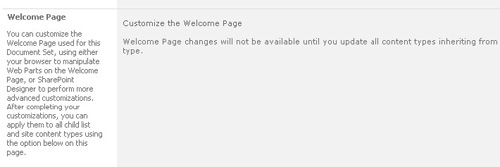
Select
the Document Set settings link in the Settings section and then, in the
Welcome Page section, click the Customize the Welcome Page link, as
shown here:
From the Page tab in the ribbon, select Edit Page.
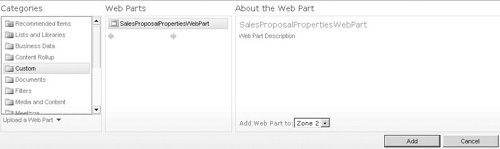
Delete the Document Set Properties web part, and then click the Add a Web Part link in Zone 2 to show the web part selector.
Add the SalesProposalPropertiesWebPart from the Custom category, as shown:
Click Stop Editing to commit the changes to the welcome page.
7. Create a Document Library
Before
we can begin creating sales proposals, we need to create a new document
library that is bound to our Sales Proposal content type.
From the Site Actions menu, select New Document Library. Name the new library Sales Proposals.
After the new library has been created, select Library Settings from the Library tab of the ribbon.
In
the Document Library Settings page, select Advanced Settings, and then
select the Allow Management Of Content Types option. Click OK to save
the changes.
From
the Content Types section, click Add From Existing Site Content Types,
and then select the Sales Proposal content type, as shown. Click OK to
save the changes.

8. Create a Document Template
Our final step before we can see our document set
functionality in action is to create a template for our compilation
process. Since we need to add Content Controls to our template document,
we can create the document using Visual Studio.
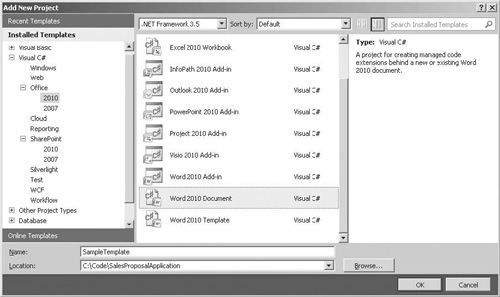
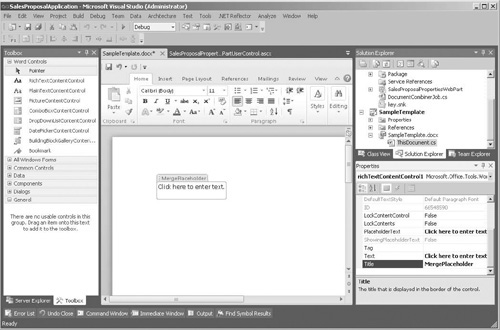
To our SalesProposalApplication solution, add a new project of type Word 2010 Document, as shown. Name the project SampleTemplate.
Drag a RichTextContentControl onto the SampleTemplate.docx file. Type the Title property as MergePlaceholder, as shown:
Close the SampleTemplate.docx pane in Visual Studio, and then save the project.
Right-click the project node and select Open Folder in Windows Explorer.
Create a new document library named Document Templates and upload the SampleTemplate.docx file.
Tip
When you select the Upload Document | Upload Multiple
Documents option from the Documents tab, the file can be uploaded by
dragging and dropping it onto the dialog box.
We can now make use of our Sales Proposals document set to create a composite document.
Navigate
to the Sales Proposals document library, and then select New Document |
Sales Proposal from the Documents tab of the ribbon.
In the New Document Set: Sales Proposal dialog, enter the URL of the sample template in the TemplateUrl box.
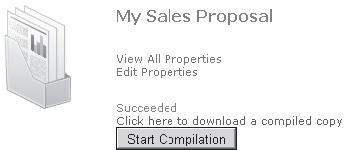
Upload
a few Word documents to the document set, and then click the Start
Compilation button. If all is well, after a few minutes a link will
appear as shown, allowing us to download a PDF copy of the compiled
sales proposal: